May 2024 Update
Development Update
The first day of summer has passed, and according to the calendar, we have entered the summer season. Just when we thought it’d gotten hot, things suddenly got chilly again…the weather has been keeping us on our toes day after day. Please take good care of yourselves.
This month’s report comes to you from Ishii.
Armed Fantasia May 2024 Project Report
Chief director Ishii here.
May has come. We also just finished Golden Week, one of the longer vacation periods in Japan. How have you all been spending your days? Now, it’s time for us to snap back into focus mode and work hard at our school and work activities. (what a perfect student would say)
Our theme this month is gadgets. However, I don’t want to give out too much information ahead of time and take away from the fun of actually playing the game, so I’m going to keep the details of each gadget confidential.
Instead, I’ll be explaining how we implement each gadget into Armed Fantasia.
Step 1
The first things we had to consider were: How many gadgets will we have from a framework perspective? Will that number be excessive or insufficient for a spiritual successor? Will each character have an equal number of gadgets? Then there’s the “mature” topic of how many man-hours we’ll need to do the work. (Which is actually the most important part…)
We considered all the different angles and discussed things among ourselves. Since it was already decided that there would be six party characters in this game, we decided to make each character have an equal number of gadgets, thus increasing the number of gadgets to six.
Step 2
Once the total number was determined, the next step was to consider how the gadgets would work. At this stage, we stopped thinking about the total number of gadgets and piled up as many interesting ideas as we could, while trying to connect them with all the objects that could be placed on the field.
Based on the rule that gadgets would not interfere with each other, we prepared three or more ways to use a single gadget: normal use, applied use, and clever use.
The “gadgets don’t interfere with each other” rule means that using one gadget on another will have no effect. For example, if you throw a “Slow Knife” at a “Set Bomb,” the knife will just pass through it.
If we allowed gadgets to interfere with each other, we could do much more, but it would also make solving puzzles more complicated and require fast reflexes in terms of controls, which would make things feel more like an action game than an RPG. But we set that rule in place because we’re prioritizing the fact that this is an RPG and a spiritual successor above all else.
In this step, we came up with as many ideas as we could to create gadget elements filled with surprise and fun that will directly connect to puzzle-solving while also giving players some fun action to enjoy at the same time.
Step 3
Once a sufficient number of ideas have been gathered, we compare and consider the content of the gameplay and fit it into the framework described above.
The truth is, before we launched the Kickstarter campaign, we were only planning to implement one gadget per character. But thanks to the support of our backers, we reached a stretch goal that let us implement three gadgets per character as we had originally imagined. We would like to thank you again for your support.
If you have ever done this kind of idea-sharing work, you may know what I’m talking about here.
If you try to put them together in a stoic manner, the ideas often overlap with each other and are not enough to fill the framework. It forces you to set aside more time for coming up with and considering ideas even though you’re already exhausted from coming up with ideas in the first place. This is where planners really need to work hard.
It is interesting to note that every now and then, a miraculous idea will pop out during a “dried-up” period. Speaking of interesting ideas, some staff members who had worked on Wild Arms in the past assumed that gadgets would only be usable in dungeons and towns…but then someone from bee tribe suggested making it so that they can be used on the world map as well, and their eyes went wide, like they had finally seen the light.
So in Armed Fantasia, gadgets will be usable on the world map as well. One of the great things about this project is how these unexpected chemical reactions keep happening.
Step 4
Now that we’ve accumulated the number of gadgets we originally planned for, the next step is to decide which character will use each gadget. The gadgets will be allocated according to the character’s image and the story progression, how they’re used on objects in dungeons, (new ideas may be introduced here), and so on. All of this will help us nail down the image of each gadget in even more detail.
Step 5
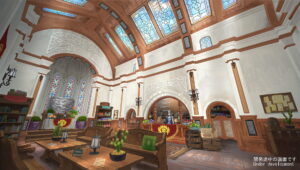
To visualize the actual behavior, we temporarily implement white models. We make the size of the gadget as close as possible, but we’re basically using temporary assets here in order to try and get an idea for the atmosphere without thinking too hard about the actual shape.
Since it allows us to actually touch and understand the movements of the character and the gadgets, we can use this to analyze how they actually feel, then make recommendations such as speeding up the process of setting a “Set Bomb” or making “Slow Knives” fly faster.
Step 6
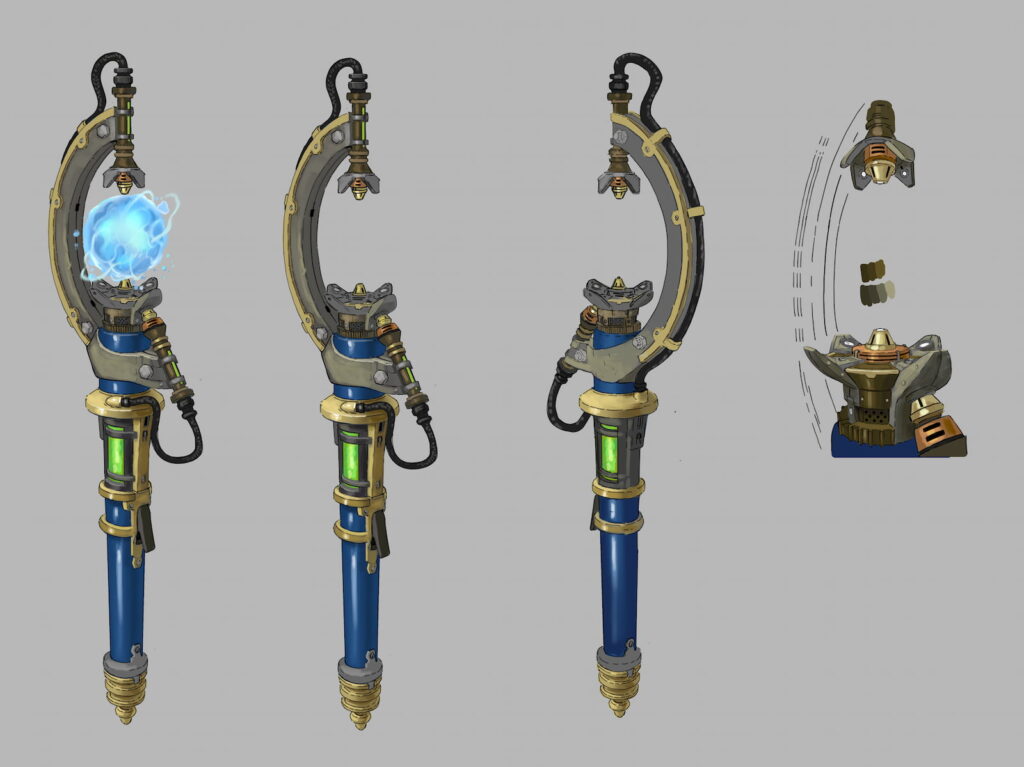
In this step, we move back to the design work for each gadget.
Since we usually have a shape in mind when we think of the gameplay, this doesn’t usually become a bottleneck. Once we’ve decided on the shape, we send the necessary text documents to the art team along with the design order. Then, the team creates a wonderful design image like you see below.
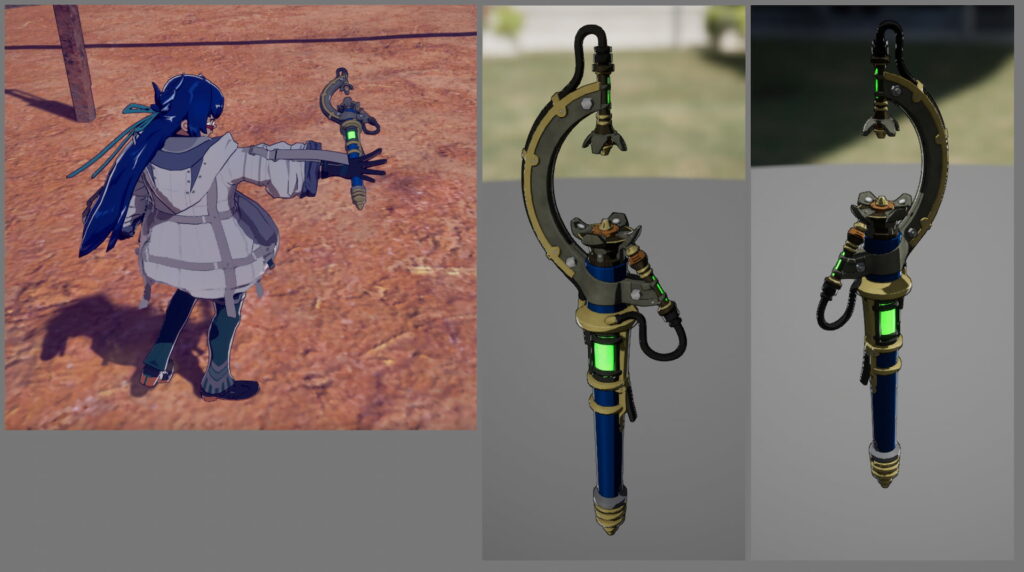
Step 7
In this step, we use the design image to create the actual 3D model. We also create the character animations and the sound effects for when they use the gadget in this stage. Once all the resources are in place, we finally assemble and implement them.
Step 8
In this step, we perform the final adjustments. We adjust the behavior that was created in the white model stage so that it matches the graphics, adjust the timing at which the gadget’s effect activates, and make it feel even better to use. We continue this step until the very end, for as long as the schedule permits.
That concludes this rough overview of how we implement gadgets.
And that’s it for this month’s update.
See you next month!